Select XY plane and click “Sketch”.
Select “Hexagon” icon from “Profile” toolbar.
Draw a hexagon and circle as defined dimensions:

Exit workbench.
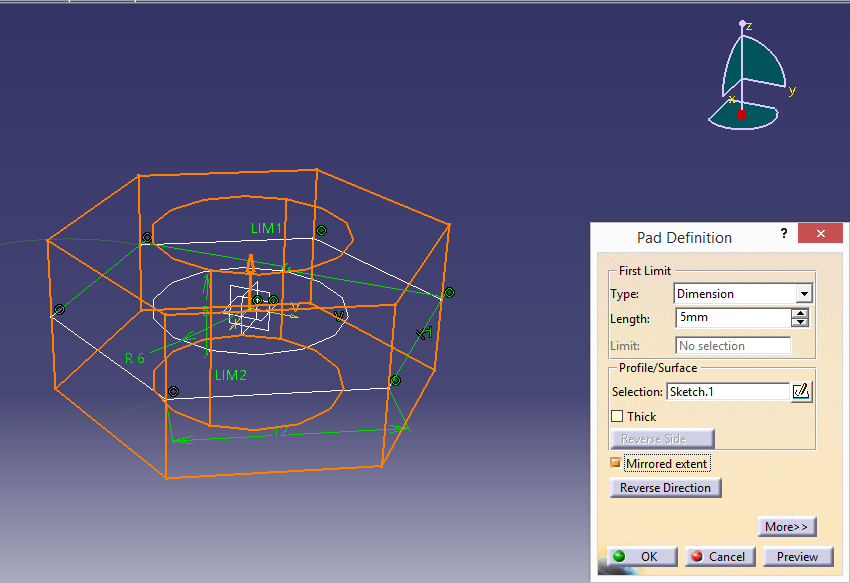
Go to “Pad Definition” and set length as 5mm by clicking “Mirrored extend”, press “OK”:
Now select YZ plane and click “Sketch”.
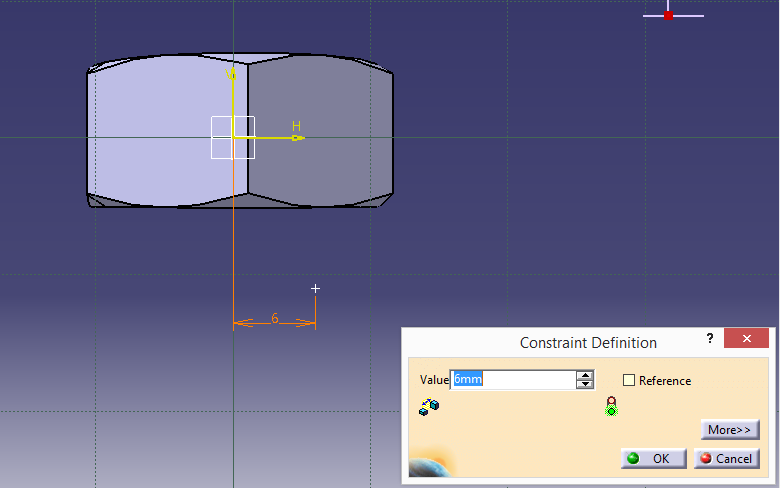
Draw a triangle with defined dimension as below:

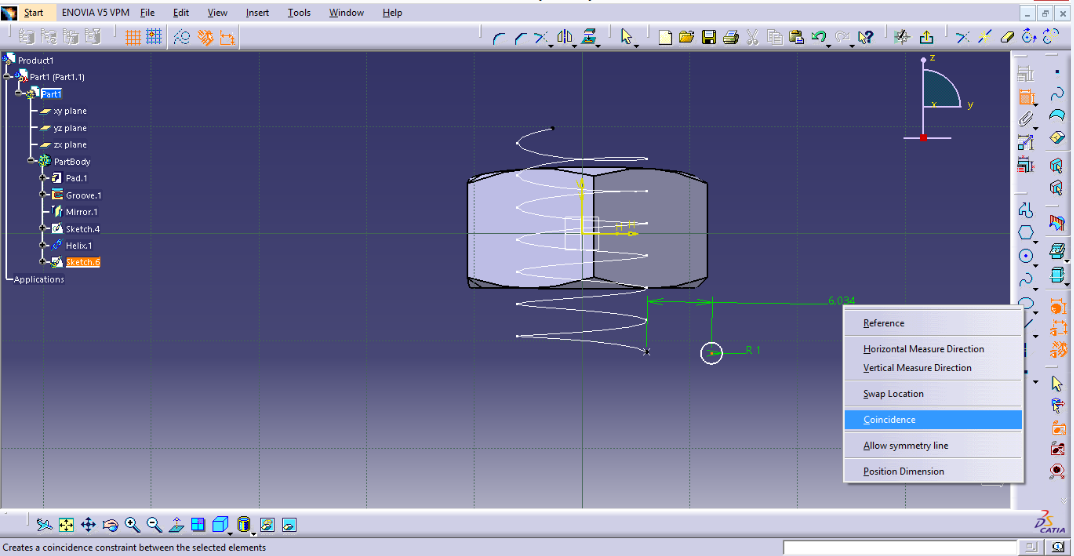
Select top right point of the shape and select left point of the triangle and use “Coincidence” command by clicking right button of mouse.


Exit workbench.
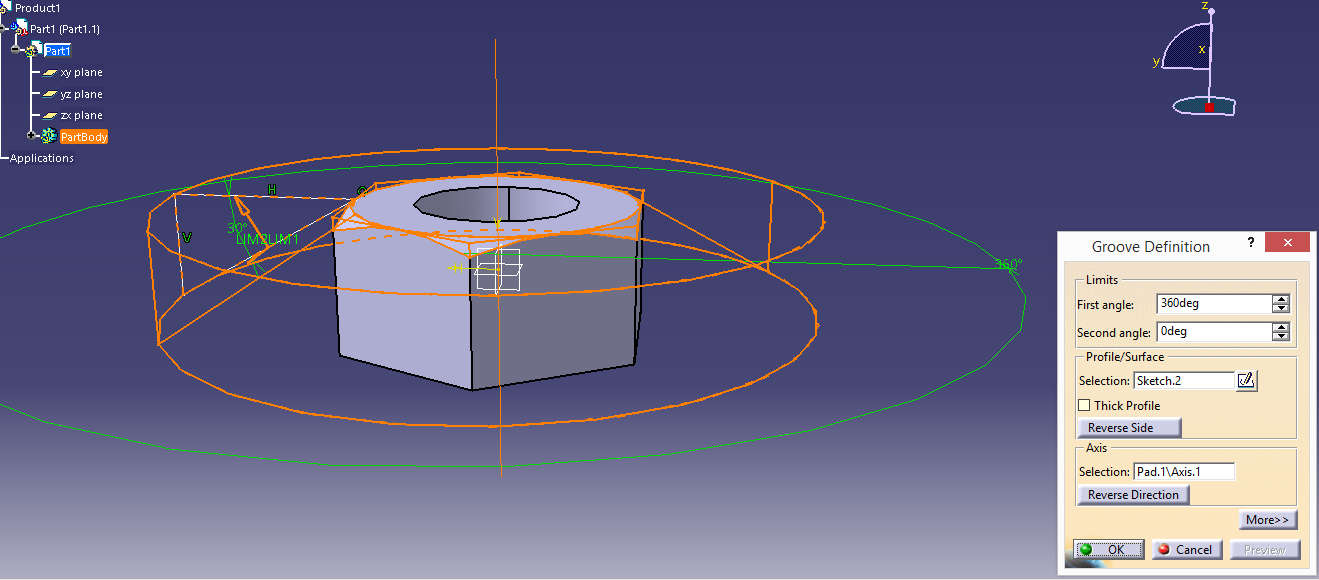
Select “Groove” command and set dimensions as follows:

Select “Groove” from product tree and click “Mirror” (You will see a “Warning”, press “YES” and continue.). Select XY plane to mirror it.

Go to YZ plane click “Sketch” and select “Point” icon. Apply the dimensions as below:
Exit workbench.
Go to “Start”- “Shape”- “Generative Shape Design”. Select “Helix” icon and apply the dimensions as follows:


Go back to “Part design” and select YZ plane. Click “Circle” icon and coincide the center of the circle and bottom point of the helix. (Circle radius is 1mm).

Go to “Slot” and click “Helix” for center curve at “Slot Definition” to finalize the part.


No comments:
Post a Comment