Go to respectively; Start> Shape> Generative Shape Design.


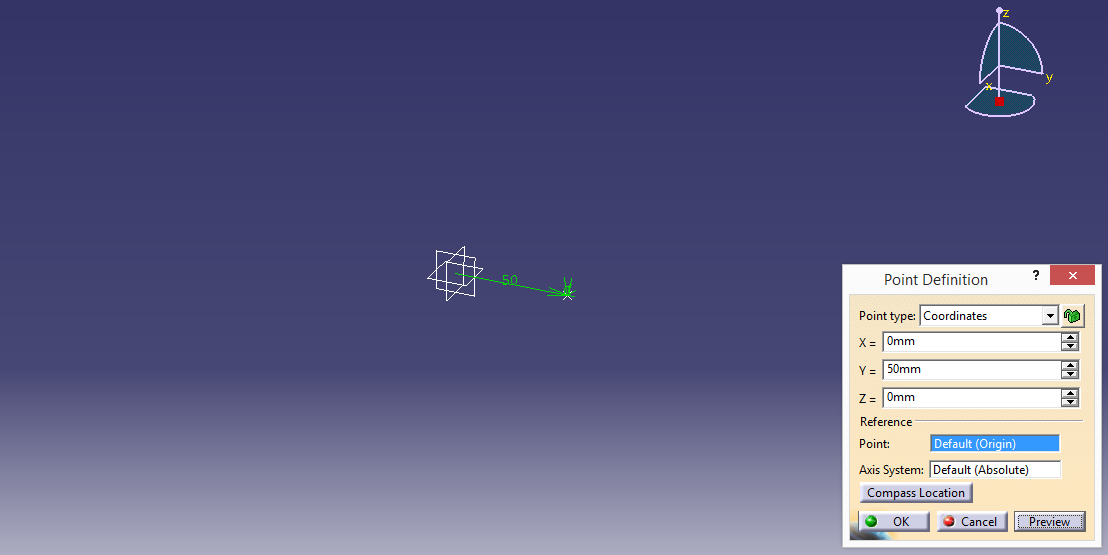
Click “Point” and set coordinates as X= 0, Y= 50, Z= 0. Press “OK”.
Click
“Point” one more time and set coordinates X=0, Y=-25, Z=0. Press “OK”.

Select
“Line Definition” for selected point and select “Create Point” on coordinates
(0, 0, 0). Select line type as “Point- Direction” and pick direction as Z
component. Set start distance as 12 mm.


Select
(0, 50, 0) coordinated point and go to “Circular Pattern Definition”, set
parameters
“Complete Crown”; instances will be “5” and “Z Axis” will be the
reference element.


Select
(0, -25, 0) coordinated point and go to “Circular Pattern Definiton”, set
parameters as “Instances and angular spacing”, instances: 5, angular spacing:
72 deg and reference element will be “Z Axis”, press “OK”.

Go to “Line Definition” and select parameters respectively as shown
below.


Go to “Fill Surface Definition” and select three created lines, press
“OK”.

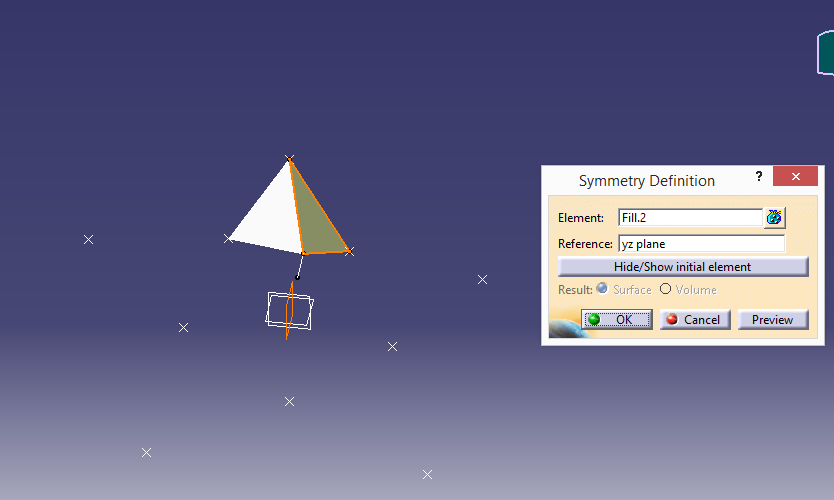
Now, select “Symmetry Definition” as follows and press “OK”.
Select “Join” and pick two pieces to make them one part.


Go to “Circular Pattern Definition”, select the part that recently
joined eachother and set reference element on Z Axis.

On join definition part select all the first created part and the rest
which has created by using circular pattern definition to join eachother.

Select “Symmetry Definition” to create the pther half of the star. After
that click to “Join” to stick two half stars.

The “Perfect Star” is completed. Well done!
